ASR 10 FlexiDrive Installation and Notes
FloppyEmulator.com Return of the Ensoniq ASR-10
—
Part I: FlexiDrive
Harden your Hardware and forget your Floppy – words by Drew Spence
They don’t make them like this anymore. We turn back to a time when a sampler meant you recorded audio and created…samples. The Advanced Sampling Recorder is a classic piece pulled from the days of hardware-only, in a time when a collection of crates was known as your soundbank. Writer Sean Maru has covered the ASR-10 in great detail in his Vintage Series article in issue 01 (page 35). Here, we take a look at ‘dropping the floppy’ and adding a more modern storage system to the ASR-10.
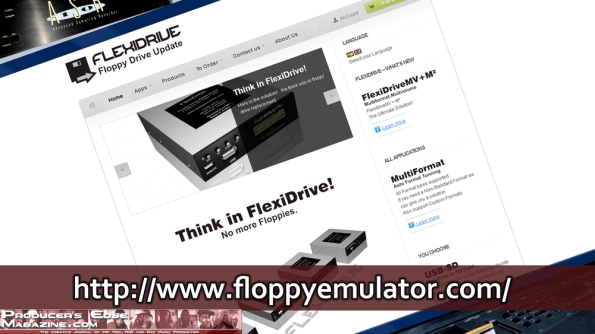
FloppyEmulator.com is all about replacing the floppy drive on your machine with USB and SD mounted media. They cover a wide range of brands, including Kawai, KORG, Yamaha and Roland.
[More info here: http://www.floppyemulator.com/category/applications/musical-instruments/]
For this article, I will focus on my own experience with the ASR-10. I chose the $385.00 USD FlexiDriveMV-SD, which is a multi-volume SD card-reading drive. I could have also chosen the USB reader for the same functionality and cost. The idea is to have EVERY floppy disk saved on a single SD card (including the O.S. Disk). They boast a single card solution can store up to 2,500 Disks and that’s more than enough.
Faceplate and Facepalms
Firstly the disclaimer: Producer’s Edge Magazine is in no way suggesting you follow this article or video as an instructional guide and is not responsible for any damage to you or your equipment. Maintenance and upgrades should only be done by qualified persons and any attempted alterations may void your warranty.
My package from FloppyEmulator.com arrived shortly and included a nice SD card reader and a 4 Gigabyte Kingston SD card.
There are numerous screws on the bottom of the ASR-10. I removed these to lift the faceplate and get access to the internals.
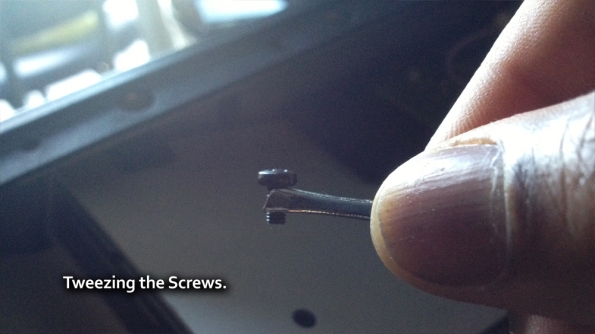
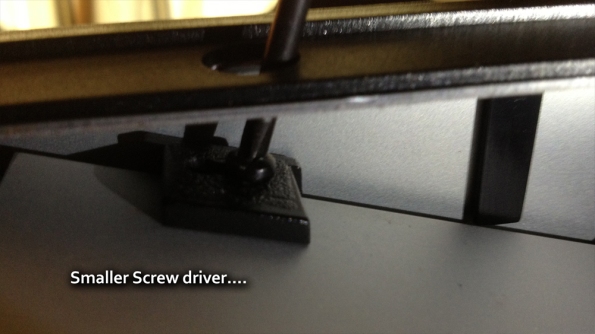
The FlexiDrive sits in the same bay and connects to the exact same cables from the floppy drive. I took pictures as a reference to see how everything was connected. I also took note that the ASR-10 was upside down, so the drive bay would be installed upside down. Although the FlexiDrive came with proper mounting screws, I reused the ASR’s screws. I used two different screw drivers, a normal Phillips for the body screws and a smaller PC Phillips-head driver for the smaller screws that secure the drive’s mounting bay. Since the holes are in a tight space, I used tweezers to hold the screw in place and then screwed down from the space above, in the drive mount’s frame.
Once secured, I only used a few bodily screws to put the faceplate back on since I wanted to make sure the new drive worked before closing up the ASR-10. Nuts! The drive powered up, but the ASR didn’t see it. I opened her back up and re-secured the drives’ connecting ribbon and voila, we are in business. Oh wait! I forgot to make an image of the O.S. Disk before removing the floppy bay. No problem, you can find ASR-10 Operating Disk images on the internet in various places.
AND HERE: http://www.ProducersEdgeMagazine.com/griffinavid/asrosimage.zip
When I start the ASR-10, she tunes the keyboard and then asks for the systems disk. I use the browser on the front of the new FlexiDrive and load the image of the O.S. floppy and the ASR-10 boots up.
Overall, I’m quite happy with this purchase and the tech support from FloppyEmulator.com. It’s a relatively expensive solution, but when weighed against the cost, concern and hassle of maintaining an extensive library of floppy disks, it’s more than worth it. FloppyEmulator.com
**** NOTE: You can load an image of your ASR-10 Operating Disk and save it to the INTERNAL DRIVE of the FlexiDrive and load that image first upon start up.
This means you can skip the step I show of loading your ASR-10 O.S. Image every time you start the ASR-10. This is much better solution. The instructions are located in chapter 2 of the Settings & Functions pdf.
Alternatives Storage Recommendations -10 (well, maybe two, not ten)
There are other solutions for working with a single loading floppy bay emulator. The HxC Floppy Emulator is a hardware unit designed to retro-fit and can be found on a few sites and eBay for ~$70.USD
There are numerous USB to Floppy drives available, ranging from $30 to $60 USD. These work for normal PC floppy drive operations but DO NOT work for reading/writing/emulating our specialized drives and their formats.
My modern PC [Griffin Avid edit: It’s really old, but runs Windows 7 just fine] doesn’t have a floppy bay/drive so I decided to visit the nearest mom & pop computer store and pick one up for $15 USD. I had old spare ribbons sitting around and luckily, my mother board had the right slots. The next mission is to archive all of my old floppy disks, on my PC and then transfer them to the SD card reader on the ASR-10. isoBuster is next.


I have the asr 10 keyboard, 3.5 asr 10 disk, and the gotek floppy emulator. I did get the omnifop and isobuster software. My problem is how do you convert the diskimage to a usb stick. I tried to convert the disk image but it did not take. Can you please post the direction on taking the disk image to a usb flash drive using the software.
It’s in the Settings and Functions PDF…..Not sure how to add a PDF file to a wordpress post. Hit us up on Facebook and I’ll send it as a message. https://www.facebook.com/Producers-Edge-259978906785/
LOL@$385
CRAZY PRICE!
I doubt if many will be sold…..TOO EXPENSIVE